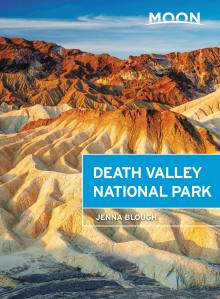
Death Valley National Park
These free, printable travel maps of Death Valley National Park are divided into four regions:
- Furnace Creek and the Amargosa Range
- Stovepipe Wells and the Nevada Triangle
- Scotty’s Castle and the Eureka Valley
- Panamint Springs and the Saline Valley
Explore Death Valley National Park with these helpful travel maps from Moon. Ensure you have the latest travel maps by ordering the most recent edition of our travel guide to Death Valley National Park.
Death Valley National Park
Furnace Creek and the Amargosa Range
Iconic views, short hikes, and easy access make Furnace Creek and the Amargosa Range an excellent introduction to Death Valley.


Stovepipe Wells and the Nevada Triangle
Stovepipe Wells and the Nevada Triangle are home to steep alluvial fans that lead to the wind-sculpted and colorful canyons of the Cottonwood and Grapevine Mountains, including Mosaic Canyon.


Scotty’s Castle and the Eureka Valley
The Eureka Valley is the most lightly visited park region. There are no services, so a trip here means roughing it, but you’ll be rewarded with solitude and natural wonders. The exception is popular Scotty’s Castle; thousands of visitors come to this 1920s mansion tucked in the folds of the Grapevine Mountains.


Panamint Springs and the Saline Valley
Panamint Springs and the Saline Valley are filled with creeks and springs, historic mining roads and camps. Old cabins and ghost towns, like Skidoo and Panamint City, are scattered through the wrinkled folds of the western Panamint Mountains, which are home to Telescope Peak, the highest peak in Death Valley.


